Code Explained
To better understand how the Electric Imp sketch works, follows a brief description of what
most important sections do.
Agent Code
Device Settings
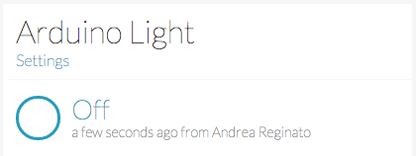
The deviceId and deviceSecret are used to authenticate
the physical object (Electric Imp) with Lelylan. To get the device credentials open the
Dashboard, select the
desired device, click on settings and copy the Device ID and the Device Secret.
Sending messages to Lelylan
To send the physical updates to Lelylan we defined the function
lelylanSet(properties) which defines the Lelylan endpoint and
fires the real request.
The request function fires the HTTP request to Lelylan. To make it work we first need
to define the headers by setting the content type (JSON) and the physical secret.
At this point we can fire the request and let Lelylan know the current light status
(on or off).
Receiving messages from Lelylan
To receive the requests from Lelylan the Agent must declare a unique handler for
incoming requests. In this tutorial we defined the lelylanUpdate function.
When, interacting with the Dashboard (or APIs) Lelylan sends a PUT request with the
properties you want to change to the physical world
(see Makers Api).
The lelylanUpdate function checks for the X-Physical-Secret
header in order to avoid unauthorized requests and sends an
update event to the Device Entity with the desired light status in order
to physically turn the light on or off.
Once the led status is updated, a confirmation message must to be sent back to
Lelylan to confirm that the physical changes were successfully applied (if not, the
device will keep being pending).
Device Code
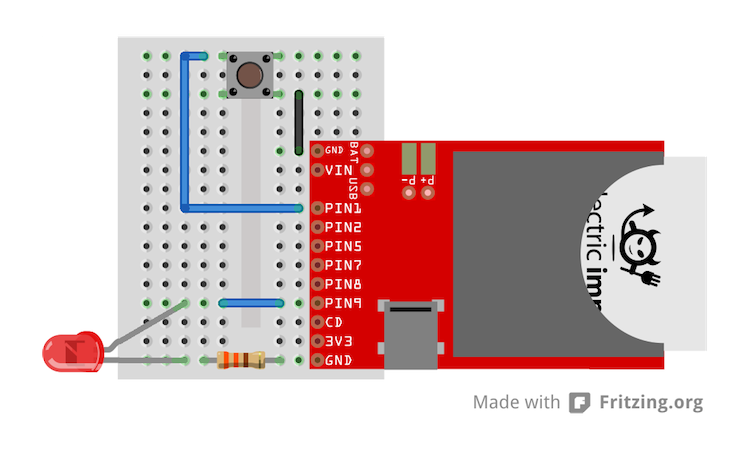
Led and Button Pins
Here we define the pins used to connect the led and the button. If you have followed the
Fritzing diagram you don't have to change
anything. If you used different pins, remember to change these values.
Led and Button Logics
Here we define the variables you need to make the physical button work correctly with the led.
Button's handler
We use the pushbutton as a switch. Each time you press the button the led is turned on or off.
To make it work we need to add a debounce, otherwise everytime you press the button a single
press would be recognized as multiple press.
Once the push button is pressed (the led status changes) we publish a message to Lelylan
to confirm the updated led status.
Payload
When communicating with Lelylan we use a fixed JSON structure. For this basic example we
defined first a Squirrel object which later will be JSON encoded by the Agent.
Remember that every message exchanged with Lelylan is made up by a list
of properties where each of them contains a property ID and a property value.
For the type "basic light" we have the status property with ID
518be5a700045e1521000001 accepting the values on
and off.